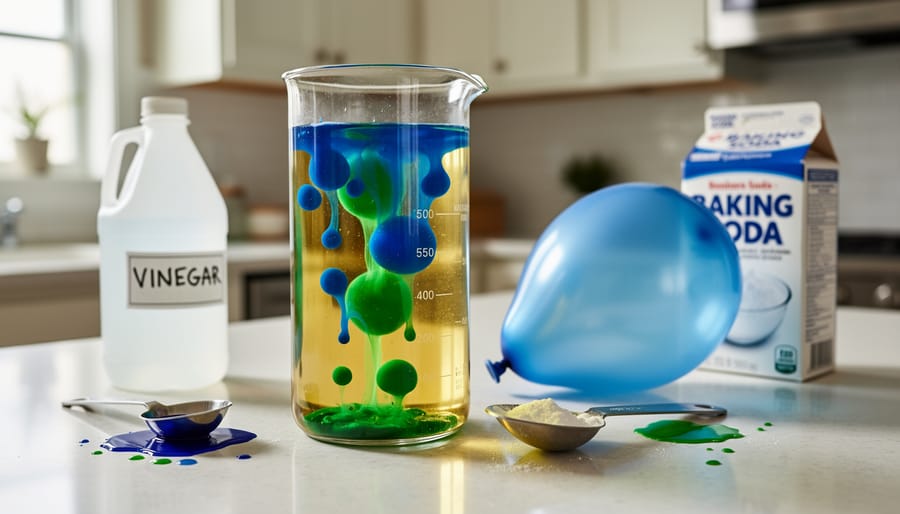
You can transform your kitchen into a laboratory this weekend with ten simple experiments that reveal the same fundamental forces that puzzled scientists for centuries. Using nothing more than household staples like vinegar, baking soda, food coloring, and a few common items from your pantry, you’ll witness chemical reactions, observe fluid dynamics, and explore principles of physics that once counted among the greatest ancient science mysteries. These activities require minimal preparation, most taking under 30 minutes from setup to spectacular result, making them perfect for curious minds of all ages.
What makes these experiments truly remarkable isn’t just their visual impact. Each one connects you to questions that occupied the greatest minds in history. When you create a DIY lava lamp, you’re observing density and polarity in action. The self-inflating balloon demonstrates gas production through acid-base reactions. Dancing raisins showcase buoyancy principles that shipbuilders once struggled to understand. These aren’t mere tricks or diversions, they’re genuine scientific exploration distilled into accessible, immediate experiences.
The beauty lies in their dual nature. Young explorers get hands-on discovery that feels like magic. Adults rediscover the wonder that first sparked scientific curiosity in childhood, this time with the conceptual framework to understand what’s actually happening at the molecular level. Whether you’re looking for an engaging weekend activity or seeking to understand the chemistry and physics that govern our everyday world, these experiments deliver both spectacle and substance. No specialized equipment required, no dangerous chemicals, just the raw materials of discovery waiting in your home right now.
Why These Ten Experiments Made the Cut
These ten experiments earned their place by meeting three strict criteria. First, they rely entirely on common household ingredients, no specialty lab equipment or online orders required. You’ve got vinegar, baking soda, dish soap, food coloring, and maybe a balloon or two already sitting in your kitchen. Second, each experiment delivers visual spectacle. We’re talking swirling colors, dancing objects, and fizzy eruptions that make you stop and say “Wait, what just happened?” That visible wow-factor transforms abstract concepts into tangible moments of discovery.
Third, safety matters. Every experiment here is appropriate for a wide age range, from curious five-year-olds (with supervision) to adults rediscovering their inner scientist. No toxic chemicals, no high heat, no explosions beyond the controlled fizz of a vinegar reaction. They’re perfect for after school, weekends, or any time kids want to explore and get hands-on. Hands-on learning has surged as families recognize that science becomes memorable when you can touch it, smell it, and watch it unfold right in front of you. These activities are natural invitations for play and exploration that all ages can enjoy.
1. Magic Milk, A Swirling Dance of Chemistry
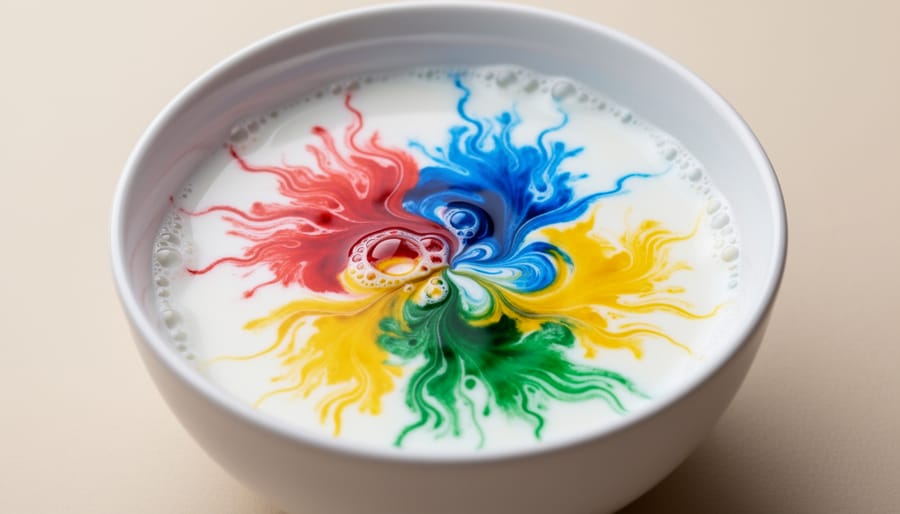
Pour whole milk into a shallow dish, add drops of food coloring across the surface, then touch a cotton swab dipped in dish soap to the center. The colors explode outward in swirling patterns that look almost alive.
What You Need:
Whole milk (the higher fat content works best), liquid dish soap, food coloring in multiple colors, a shallow dish or plate, and cotton swabs. Everything’s already in your kitchen.
Simple Steps:
Pour enough milk to cover the bottom of your dish about half an inch deep. Add three or four drops of different food colors to various spots on the milk’s surface. Don’t stir. Dip your cotton swab in dish soap, then gently touch it to the milk’s center or near a color drop. Watch the eruption of movement. You can keep dipping and touching different spots until the soap saturates the milk and the reaction slows.
What’s Actually Happening:
Milk contains fat molecules surrounded by water. The surface has tension, a kind of invisible skin where water molecules cling together. Dish soap is designed to break that grip. One end of each soap molecule loves water while the other loves fat. When soap hits milk, it races across the surface trying to bond with fat and water simultaneously, dragging the food coloring along for the ride. This creates those spectacular swirls.
Scientists once puzzled over these molecular forces. Before we understood atoms and chemical bonds, the way liquids behaved at their surfaces seemed almost magical. Early chemists observed that certain substances altered water’s behavior but couldn’t explain why. Today we know it’s about intermolecular forces, the attraction between molecules, but the visual result still feels like watching invisible hands paint across your dish.
2. Dancing Raisins, Bubbles That Defy Gravity
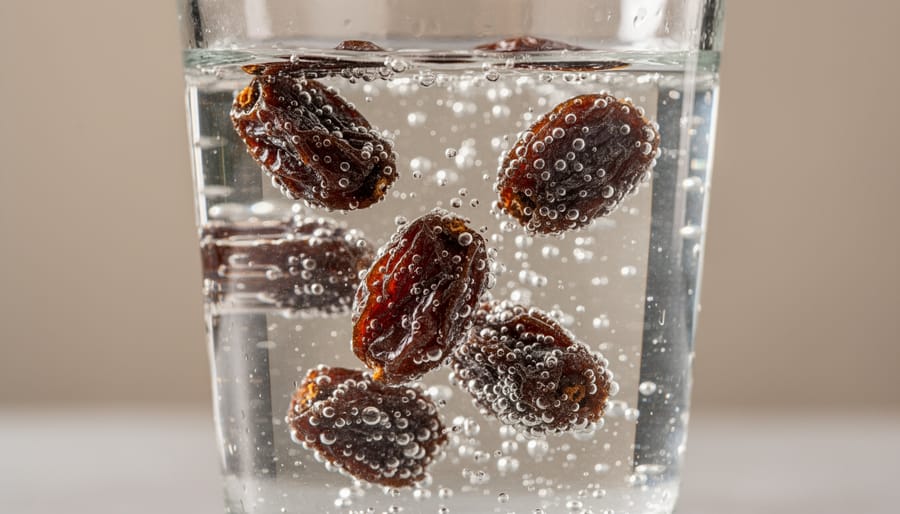
Drop a handful of raisins into a glass of clear carbonated water, soda water, sparkling water, or even lemon-lime soda works beautifully, and watch them defy expectations. Within seconds, the raisins sink to the bottom, then something curious happens: they start rising. Once they reach the surface, they descend again, creating an endless dance that captivates younger experimenters especially.
What’s happening? Tiny bubbles of carbon dioxide gas cling to the wrinkled surface of each raisin. These bubbles act like miniature life preservers, increasing the raisin’s buoyancy until it floats upward. At the surface, the bubbles pop and escape into the air, the raisin loses its flotation devices, and gravity pulls it back down where the whole cycle begins again.
This simple setup demonstrates the same principles that puzzled early scientists trying to understand carbonation. Joseph Priestley first isolated carbon dioxide in the 1770s and discovered how to infuse water with it, but the precise behavior of gas bubbles, how they form, attach to surfaces, and affect buoyancy, remained mysterious for decades. Watching raisins bob and weave makes these abstract forces tangible, turning your kitchen into a laboratory where physics plays out in real time, fizzy bubble by fizzy bubble.
3. Walking Water, Capillary Action in Living Color
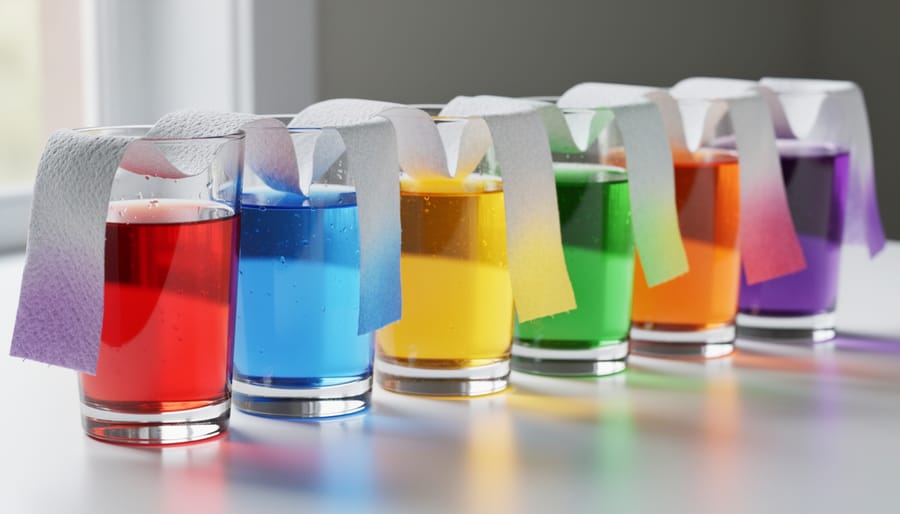
Grab three clear glasses, paper towels, and food coloring, you’re about to watch water climb upward on its own. The Walking Water experiment mesmerizes because it works slowly, letting you witness capillary action in real time as colored water travels along paper towel bridges between containers.
Here’s what you need: three identical glasses or jars, paper towels, water, and red and blue food coloring (yellow works beautifully too). Fill the outer two glasses about three-quarters full with water. Add several drops of food coloring to each, one red, one blue. Leave the middle glass empty. Fold two paper towels lengthwise into strips about two inches wide. Place one end of the first strip into the red water and the other end into the empty middle glass. Do the same with the second strip, connecting the blue water to the middle glass.
Now comes the patient observer part: over the next hour or two, you’ll watch colored water creep up the paper towel, over the rim, and down into the empty glass. Eventually, the middle glass fills with purple water as red and blue meet.
Early botanists struggled to explain how towering trees lift water hundreds of feet from roots to leaves without any pump. The answer lies in capillary action, water molecules cling to each other and to the paper fibers, pulling themselves upward through tiny spaces. Trees use the same principle through microscopic tubes in their xylem, defying gravity through molecular attraction alone.
4. DIY Lava Lamp, Density and Immiscibility at Play
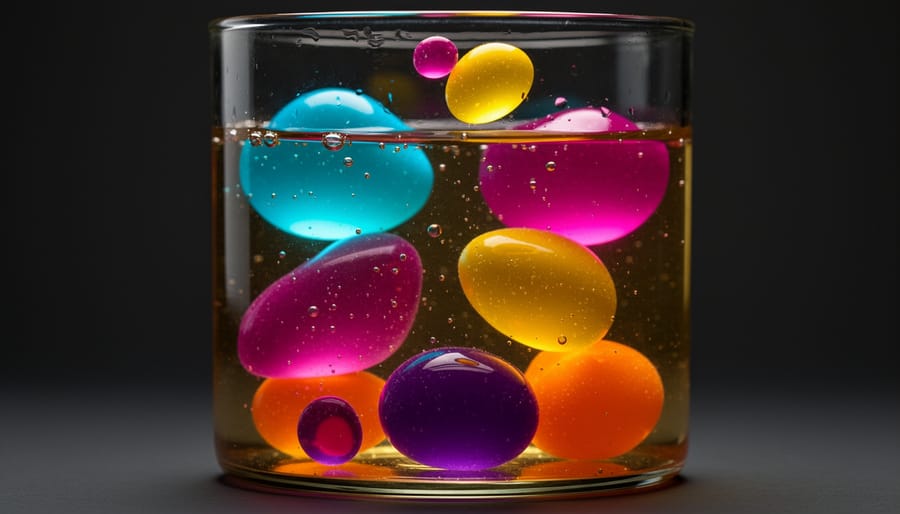
The DIY Lava Lamp brings the hypnotic motion of those iconic 1970s fixtures into your kitchen using materials you already own. Pour water into a clear glass or plastic bottle until it’s about three-quarters full, then add vegetable oil until the container is nearly filled. The oil floats atop the water in a distinct layer because oil molecules are less densely packed than water molecules. Drop in a few beads of food coloring and watch them sink through the oil, dissolving only when they reach the water below.
Now comes the magic: break an effervescent tablet (the kind used for antacids or vitamin C) into a few pieces and drop one into the bottle. The tablet reacts with water to release carbon dioxide gas, which forms bubbles that cling to water droplets and carry them upward through the oil. When the bubbles reach the surface and pop, the water sinks back down, creating that signature lava lamp dance. The cycle continues until the tablet stops fizzing, usually five to ten minutes.
This experiment demonstrates why oil and water refuse to mix, a puzzle that confounded natural philosophers for centuries. Before scientists understood molecular polarity and intermolecular forces, they simply observed that certain liquids repel each other. Early chemists called these substances “immiscible” without knowing why. Water molecules are polar, meaning they have slightly charged ends that attract each other. Oil molecules are nonpolar and can’t bond with water’s charged structure, so the two liquids remain forever separate.
You can extend this experiment by trying different oils or adding glitter for extra visual appeal, similar to the creativity you’ll find in other fall science experiments that use seasonal materials. The lava lamp works perfectly as a calming, repeatable demonstration that never gets old.
5. Self-Inflating Balloon, The Power of Carbon Dioxide
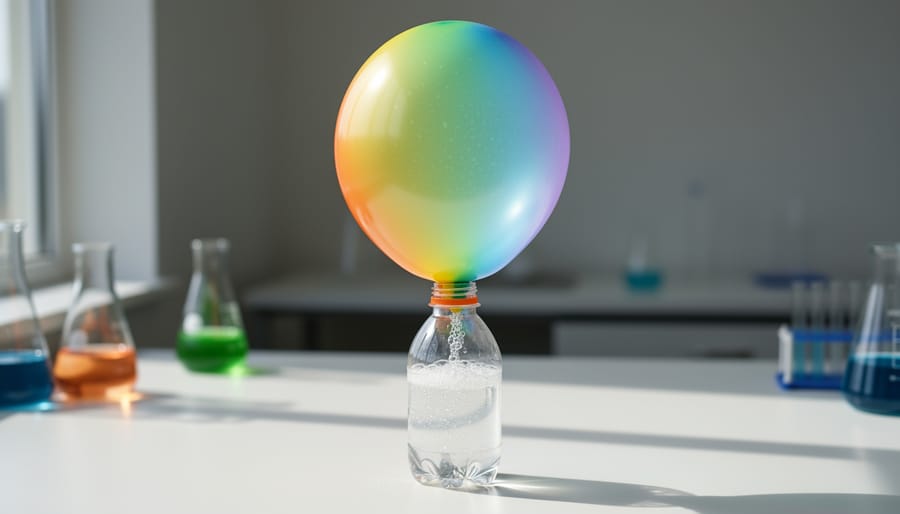
This experiment delivers instant visual drama, watching a balloon inflate without anyone blowing into it never fails to impress. You’ll need a clean plastic bottle, a balloon, white vinegar, and baking soda. The setup takes about two minutes, making it perfect for those spontaneous weekend moments when curiosity strikes.
Pour roughly three tablespoons of vinegar into the bottle. Stretch the balloon’s opening carefully and use a small funnel (or a rolled paper cone) to add two tablespoons of baking soda into the balloon itself. Pinch the balloon’s neck to keep the powder inside, then fit the balloon’s opening over the bottle’s mouth. Once secured, lift the balloon upright so the baking soda tumbles down into the vinegar below.
The reaction happens immediately. The vinegar (acetic acid) meets the baking soda (sodium bicarbonate), producing carbon dioxide gas that rushes upward and inflates the balloon. Within seconds, you’ll see it expand, no lung power required. The same process occurs in bread dough and volcanic eruptions, just on different scales.
Eighteenth-century chemists like Joseph Black struggled to understand “fixed air”, what we now call carbon dioxide. They couldn’t see it, but they observed its effects: extinguishing flames, making limestone bubble, and behaving differently from ordinary air. This simple kitchen reaction would have seemed like prophecy rather than crystal ball facts to those early investigators. Today, we understand the molecular dance perfectly, yet the wonder remains unchanged.
6. Magical Pumpkin Fizzy Experiment, Seasonal Chemistry
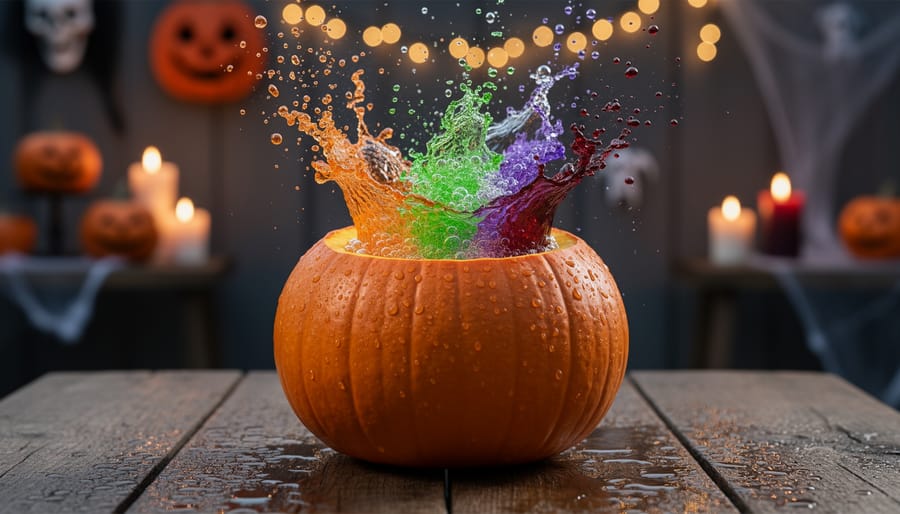
Turn a small pumpkin into a bubbling cauldron this weekend with an experiment that delights the senses while showcasing one of chemistry’s most fundamental reactions. The Magical Pumpkin Fizzy creates a colorful, foaming eruption that transforms a simple gourd into a living science demonstration. Perfect for Halloween or any festive weekend, this experiment proves you don’t need a laboratory to witness chemical magic.
The setup requires only a handful of common items:
- 1 small pumpkin (real or decorative)
- 1 tablespoon baking soda
- 1/2 cup vinegar
- A few drops of food coloring (orange, green, or spooky colors)
First, carve the top off your pumpkin and scoop out the seeds and pulp. Mix the tablespoon of baking soda with your chosen food coloring directly inside the hollowed cavity. When ready for the show, pour in half a cup of vinegar and watch as bubbles erupt and cascade over the sides in a fizzy, colorful display.
What you’re witnessing is an acid-base reaction that fascinated early chemists long before they fully understood its mechanism. When vinegar (acetic acid) meets baking soda (sodium bicarbonate), they produce carbon dioxide gas along with water and sodium acetate. That carbon dioxide creates the bubbling foam that makes this experiment so visually captivating. Scientists in the 18th and 19th centuries spent years puzzling over why certain substances created these vigorous fizzy reactions, gradually uncovering the nature of acids, bases, and the gases they release. Your pumpkin becomes a miniature laboratory where this same ancient mystery plays out in real time, proving that festive fun and serious science can absolutely mix.
7. Crystal Garden, Growing Structures Overnight
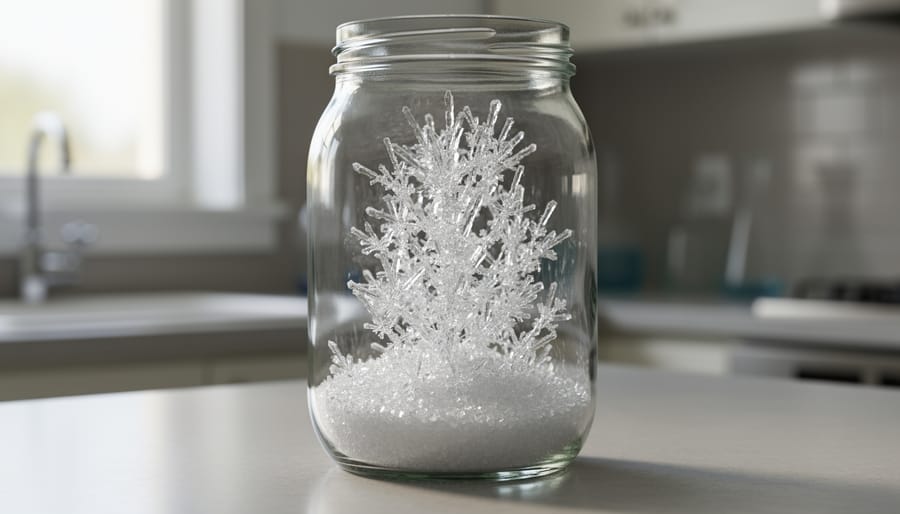
Growing crystals at home transforms your kitchen into a miniature geology lab. You’ll need just three things: table salt or white sugar, very hot water, and a glass jar. Start by heating water until it’s nearly boiling, then stir in your chosen substance, keep adding and stirring until no more dissolves and a small amount settles at the bottom. That’s your supersaturated solution, the same chemical state that forms crystals deep in the Earth’s crust.
Pour the clear liquid into your jar, drop in a rough surface like a pipe cleaner or a piece of string tied to a pencil (this gives crystals somewhere to grip), and place it somewhere it won’t be disturbed. Within hours, you’ll see tiny formations. By morning, delicate geometric structures will have climbed up your string.
What you’re witnessing puzzled geologists for centuries. How did nature create those perfect diamond faces or the hexagonal pillars of quartz? The answer lies in how molecules arrange themselves as they shift from liquid to solid. Each salt or sugar molecule locks into place following an invisible template, building outward in precise patterns. In the early 1900s, scientists used X-ray crystallography to finally “see” these molecular arrangements, a breakthrough that later helped discover DNA’s double helix structure.
This experiment requires patience rather than action, but the payoff rivals anything fizzy or colorful. Your crystals will glitter with the same geometric perfection as minerals formed over millennia underground.
8. Invisible Ink, Chemistry Meets Espionage History
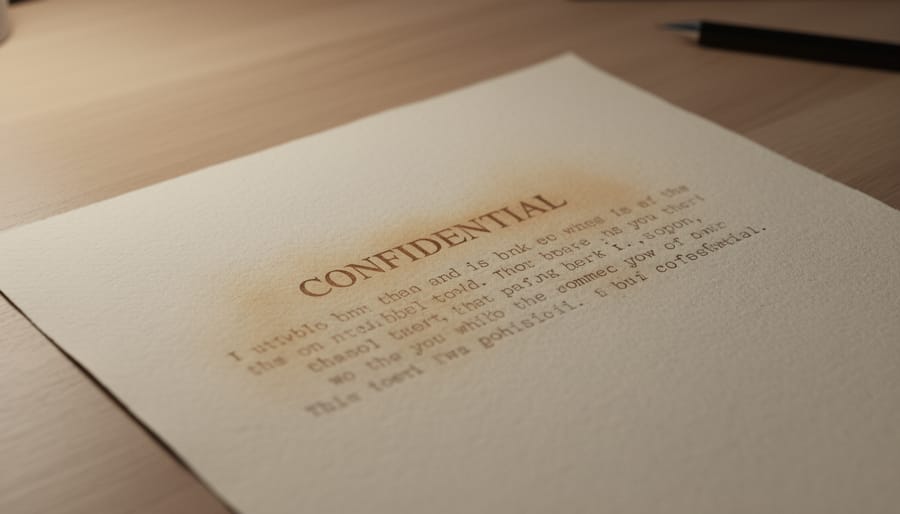
Squeeze the juice from half a lemon into a small bowl, dip a cotton swab or thin paintbrush into it, and write your secret message on white paper. Let it dry completely, the writing will vanish. When you’re ready to reveal the hidden text, hold the paper near (not touching) a light bulb, or have an adult carefully wave it over a toaster or candle flame. The heat oxidizes the lemon juice’s organic compounds, turning them brown while the rest of the paper stays white. Your message appears like magic.
This simple trick captivated spies and revolutionaries for centuries. During the American Revolution, invisible ink allowed messages to pass through enemy lines undetected. George Washington’s agents used everything from lemon juice to chemical concoctions that only appeared under specific treatments. The Culper Spy Ring relied on invisible ink to communicate British troop movements, proving that chemistry could change the course of history.
You can also try baking soda mixed with water as your ink, then reveal it by painting over the dried message with grape juice or diluted purple cabbage juice. The acid in these liquids reacts with the alkaline baking soda, changing color through a pH indicator reaction. Both methods demonstrate how substances respond to heat or chemical changes, principles that puzzled early chemists and remain essential to forensic science today.
This experiment works perfectly for all ages and turns any weekend into an adventure in code-breaking.
9. Homemade Slime, Polymer Science You Can Touch
Slime transforms chemistry into something you can stretch, poke, and squish. Mix white school glue with water, then stir in a borax solution (or contact lens solution containing boric acid) and watch as a sticky liquid becomes a cohesive blob in seconds. The magic happens when borax molecules link together the long polymer chains in the glue, a process called cross-linking that turns separate strands into an interconnected network.
Before the 1940s, scientists puzzled over how natural polymers like rubber behaved so differently from ordinary liquids. They eventually discovered that substances with long, tangled molecular chains could be elastic, stretchy, or gooey depending on how those chains connected. Slime demonstrates this principle in real time: the more you knead it, the firmer it gets as chains align and interact.
You can make multiple batches with food coloring, glitter, or foam beads to explore texture variations. If you prefer a borax-free version, combine glue with contact lens solution and baking soda for similar results. Store your slime in an airtight container and it will last for weeks.
This tactile experiment works beautifully alongside easy kindergarten experiments because even young children can help measure and mix while older participants grasp the polymer science underneath. Either way, you end up with a satisfying substance that makes invisible chemistry suddenly, wonderfully tangible.
10. Static Electricity Butterfly, Physics You Can Feel
Cut a butterfly shape from tissue paper, nothing fancy, just two wings and a body about the size of your palm. Rub an inflated balloon vigorously against your hair or a wool sweater for twenty seconds, building up static charge. Hold the charged balloon a few inches above your paper butterfly resting on a table, and watch it rise toward the balloon as if pulled by invisible threads. Move the balloon slowly across the room, and your butterfly will follow, suspended in mid-air by electrostatic attraction.
Benjamin Franklin flew his legendary kite in a thunderstorm trying to prove that lightning was electrical in nature, a risky experiment that could have killed him. Before Franklin, electricity remained one of nature’s most baffling mysteries: why did rubbing amber attract feathers? What invisible force made hair stand on end? This simple butterfly experiment demonstrates the same electrostatic principles that puzzled natural philosophers for centuries. When you rub the balloon, you’re transferring electrons from one surface to another, creating an electrical imbalance. The charged balloon induces an opposite charge in the lightweight paper, and opposite charges attract.
Try different materials, does plastic wrap work better than tissue paper? Can you make two butterflies dance together? These variations make excellent science fair ideas that explore charge transfer and material conductivity. The beauty of this experiment lies in its immediacy: you feel the crackle of static, see the butterfly respond, and experience the same wonder that sparked humanity’s centuries-long quest to understand electricity.
Making Science a Weekend Ritual
Transform these experiments from one-time weekend projects into an ongoing adventure by setting aside a regular “Science Saturday” or “Experiment Hour” each week. You don’t need a rigid schedule, the beauty of these activities is that you can pull them out whenever curiosity strikes, whether that’s after school on a Tuesday or during a lazy Sunday morning. Keep a simple science kit stocked with your core supplies: baking soda, vinegar, food coloring, dish soap, clear containers, and a few balloons. Having these staples ready eliminates the barrier of needing to shop before you can start exploring.
Document your discoveries to build on each attempt. Let kids sketch what they observe, photograph the results, or keep a simple notebook where they record which color combinations created the most dramatic swirls or how long their crystals took to form. This documentation turns random play into genuine scientific practice, noticing patterns, comparing outcomes, asking what might happen if you change one variable. The sensory thrill of fizzing reactions and swirling colors hooks attention across all ages, making these experiments natural invitations for exploration that adults enjoy as much as children do.
Common Questions About At-Home Science Experiments
Science experiments at home naturally spark questions, especially when you’re planning a weekend of discovery. These answers draw directly from the experiments we’ve covered and the practical experience of families who’ve tried them.
What age range are these experiments suitable for?
All ages can enjoy these activities. The experiments use common household ingredients and range from simple observations (like Dancing Raisins, perfect for younger children) to more patient projects (like Crystal Garden, which older kids appreciate). Adults supervise younger experimenters, while teens can work independently on most of these.
Do I need special equipment?
No specialized tools required. Everything uses everyday items you likely have in your kitchen or pantry, vinegar, baking soda, dish soap, food coloring, paper towels, and similar staples. The most unusual item might be effervescent tablets for the DIY Lava Lamp, easily found at any pharmacy.
How long does each experiment take?
Most experiments take 10 to 20 minutes for setup and observation, making them perfect for after school, weekends, or any time curiosity strikes. Crystal Garden is the exception, requiring overnight patience for crystals to form. Magic Milk and the Pumpkin Fizzy deliver instant visual results.
Can I do these with multiple children?
Absolutely. These experiments scale beautifully for groups. Set up stations for different activities, or have everyone work on the same experiment with their own materials. The hands-on nature and visible results keep multiple kids engaged without anyone waiting their turn.
If you’re missing an ingredient, substitutions often work. No small pumpkin for the fizzy experiment? Use a glass bowl or cup instead, the chemical reaction stays the same. Out of borax for slime? Contact lens solution with boric acid creates similar polymer chains. The core scientific principles remain visible even when you improvise with what’s on hand.
Every time you mix vinegar with baking soda and watch that eruption foam over the rim, you’re walking in the footsteps of scientists who spent lifetimes puzzling over chemical reactions. The household ingredients scattered across your kitchen counter, the same ones Benjamin Franklin, Marie Curie, and countless curious minds before them worked with in their earliest experiments, hold answers to mysteries that once seemed impossible to solve.
These ten experiments aren’t just weekend activities. They’re your entry point into a grand tradition of asking “what if?” and then testing to find out. Professional scientists don’t possess some magical knowledge you lack; they simply kept experimenting past that first balloon inflation, that first color swirl in milk, that first crystal forming overnight.
The fizzy reactions, the dancing raisins, the invisible messages revealed by heat, these aren’t tricks. They’re glimpses into how the universe actually works, the same principles operating in laboratories and in nature every single moment. Start with these ten, but don’t stop there. Let your curiosity guide you beyond the instructions. Change one variable. Ask why something happened differently. Wonder what else might work.
Science becomes magical when you realize it’s not about having all the answers, it’s about being brave enough to seek them.