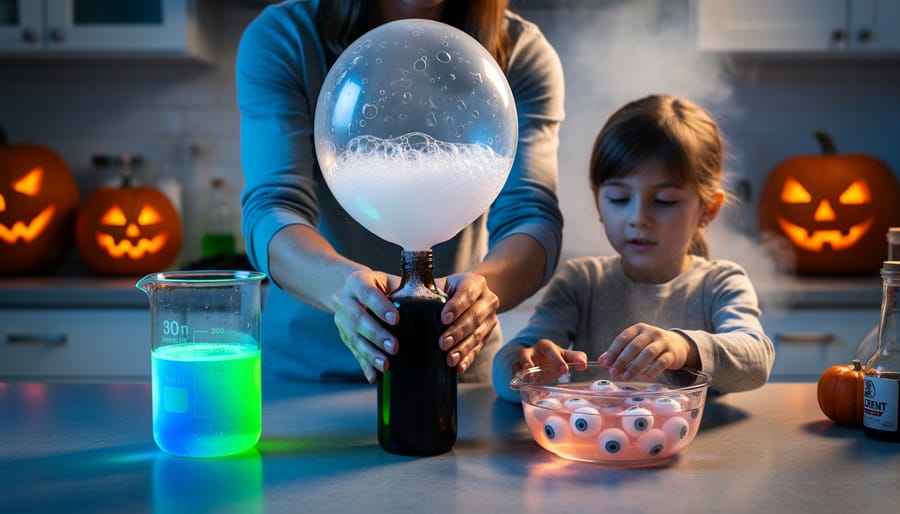
Halloween transforms ordinary kitchens and classrooms into laboratories where bubbling potions, oozing slime, and glowing concoctions bring science to life. The 10 experiments in this guide combine theatrical spookiness with genuine scientific principles, from carbon dioxide reactions that inflate ghostly balloons to density demonstrations featuring floating “eyeballs.” Each activity requires common household materials, takes between 15 and 45 minutes to complete, and delivers the kind of dramatic visual payoff that captivates children while teaching them about chemistry, physics, and biology.
The beauty of Halloween science lies in its dual appeal. Children see magic: steaming dry ice, color-changing liquids, erupting volcanos shaped like jack-o’-lanterns. Adults recognize the educational foundation: states of matter, acid-base reactions, polymer chemistry. This combination makes October the perfect time to explore scientific concepts that might otherwise feel abstract or intimidating.
We’ve selected these 10 experiments based on four criteria: safety for supervised children aged 5 and up, availability of materials (nothing requiring specialty lab equipment), visual impact that delivers genuine “wow” moments, and clear connections to scientific principles worth discussing. Some activities work brilliantly for large classroom groups, while others suit quiet kitchen table exploration. Several incorporate more at-home experiments you can adapt year-round once Halloween passes.
Safety considerations appear with each experiment, because the best learning happens when everyone stays protected and focused on the science unfolding before them.
How We Chose These Spooky Science Activities
We evaluated dozens of Halloween-themed science activities through the lens of what busy parents and educators actually need: experiments that deliver maximum wonder without turning into logistical nightmares. Each of the ten experiments featured here earned its spot by meeting specific benchmarks.
Our selection criteria included:
- Safety first: age-appropriate handling, minimal hazardous materials, and clear supervision guidance
- Visual wow factor: dramatic effects that capture attention and create memorable Halloween moments
- Common household materials: supplies found in pantries and craft drawers, not specialized labs
- Clear scientific principles: real chemistry and physics concepts explained in accessible terms
- Age-range flexibility: activities adaptable for preschoolers through middle schoolers
We prioritized hands-on engagement over passive observation. Every experiment here invites kids to mix, pour, measure, and discover rather than simply watch an adult perform. The spooky aesthetic serves a purpose beyond entertainment, it lowers the intimidation factor around science, transforming “chemistry” into “potion-making” and turning apprehension into excitement. We also considered cleanup reality, favoring contained reactions over experiments that coat entire kitchens in mysterious substances.
1. Bubbling Witch’s Cauldron (Dry Ice Potions)
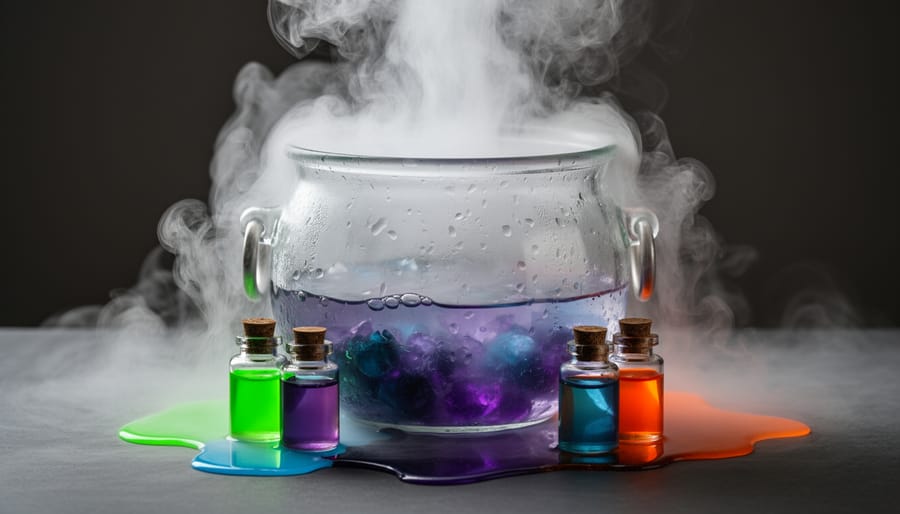
Drop a chunk of dry ice into warm water and watch kids’ eyes light up as thick, creeping fog spills over the container’s edge like something straight from a haunted house. This classic experiment creates the same atmospheric effect professional Halloween displays use, transforming any bowl into a convincing witch’s cauldron.
The science centers on sublimation, the process where dry ice (frozen carbon dioxide at negative 109 degrees Fahrenheit) skips the liquid phase entirely and transforms directly into gas when it contacts warmer water. As the solid CO2 transitions to gas, it cools the surrounding water vapor in the air, creating those ghostly white tendrils of condensed mist. The warmer your water, the faster the reaction and the more dramatic the fog production.
For an extra-spooky twist, add a few drops of food coloring to the water before introducing the dry ice. Green creates a toxic potion look, while purple or red suggests something truly sinister brewing. The colored water won’t affect the fog itself, but it enhances the overall visual impact.
Safety is critical here. Dry ice can cause frostbite on contact with skin, so always use tongs, thick gloves, or a towel to handle it. Never let children touch dry ice directly, and never seal it in an airtight container, as the expanding gas can build dangerous pressure. Use the dry ice in a well-ventilated area and supervise closely. With proper precautions, this experiment delivers maximum spooky impact with real scientific substance behind the spectacle.
2. Floating Eyeballs in Fizzing Potion
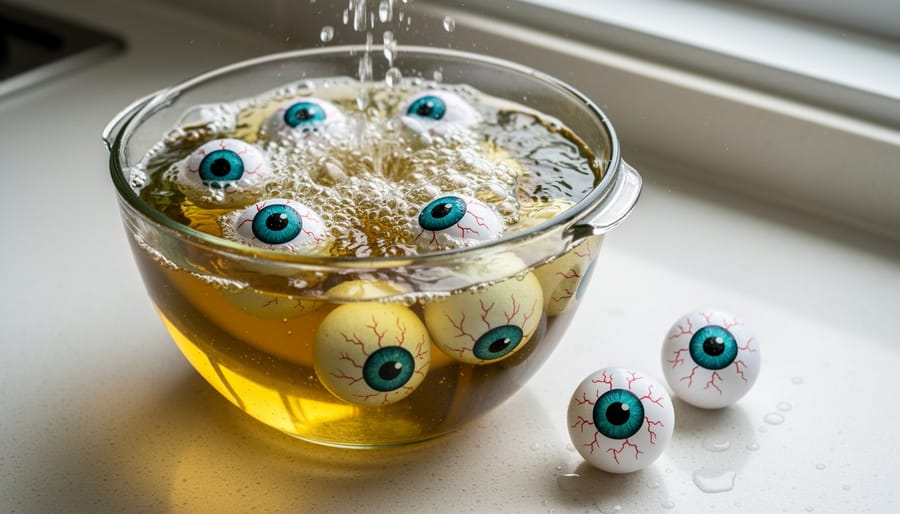
This experiment transforms ordinary ping-pong balls into floating, bobbing eyeballs that dance through a fizzing potion, creating an effect that’s equal parts mesmerizing and creepy. You’ll build a homemade lava lamp using the classic science principle that oil and water refuse to mix, then add effervescent tablets to bring your eyeballs to life.
Start by drawing creepy pupils and irises on white ping-pong balls with permanent markers. Fill a clear tall glass or vase about two-thirds full with water, then add several drops of food coloring (green or purple works brilliantly for a witchy potion look). Slowly pour vegetable oil on top until the container is nearly full. The oil will float above the water because it’s less dense, creating two distinct layers. Drop in your eyeballs, they’ll rest at the oil-water boundary, staring out at different angles.
Now for the magic: break an effervescent tablet (like Alka-Seltzer) into pieces and drop them in. The tablet reacts with water to produce carbon dioxide bubbles, which attach to your eyeballs and carry them upward through the oil. When the bubbles pop at the surface, the eyeballs sink back down, only to catch more bubbles and rise again in an eerie, repeating dance.
The science here is about polarity. Water molecules are polar (electrically charged on different ends), while oil molecules are non-polar. Since “like dissolves like,” these two liquids separate into layers rather than mixing, no matter how much you stir them.
3. Erupting Pumpkin Volcano
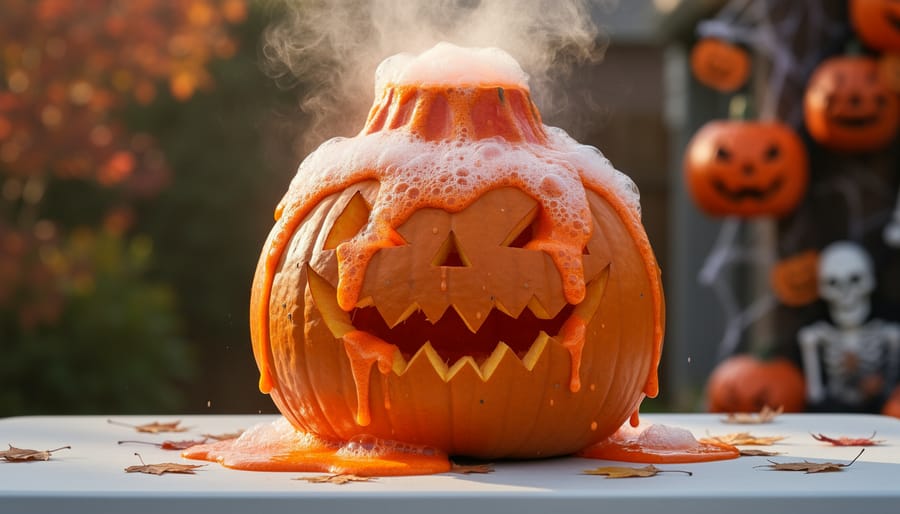
Grab a medium-sized pumpkin and carve off the top as you normally would for a jack-o’-lantern, but scoop out the seeds and stringy bits thoroughly, you want a clean cavity for your volcano. Place the pumpkin on a tray or baking sheet (trust me, this gets messy) and add about half a cup of baking soda to the bottom. Squeeze in a few drops of orange food coloring and mix it with the baking soda if you want that lava-like ooze, or go with red for a gorier effect.
When you’re ready for the eruption, pour in about a cup of white vinegar and step back. The mixture will fizz and foam dramatically, spilling over the sides like molten lava from a tiny volcanic pumpkin. This happens because vinegar (acetic acid) reacts with baking soda (sodium bicarbonate) to produce carbon dioxide gas, which creates all those bubbles and pushes the foam upward and outward.
The reaction is vigorous but safe, making it perfect for younger kids to observe up close. You can repeat the eruption multiple times by adding more vinegar, each pour triggers a fresh burst. The carbon dioxide produced is the same gas that makes bread rise and soda fizzy, so you’re demonstrating real chemistry that connects to everyday life, just with a Halloween twist.
4. Glowing Jack-o’-Lantern Slime
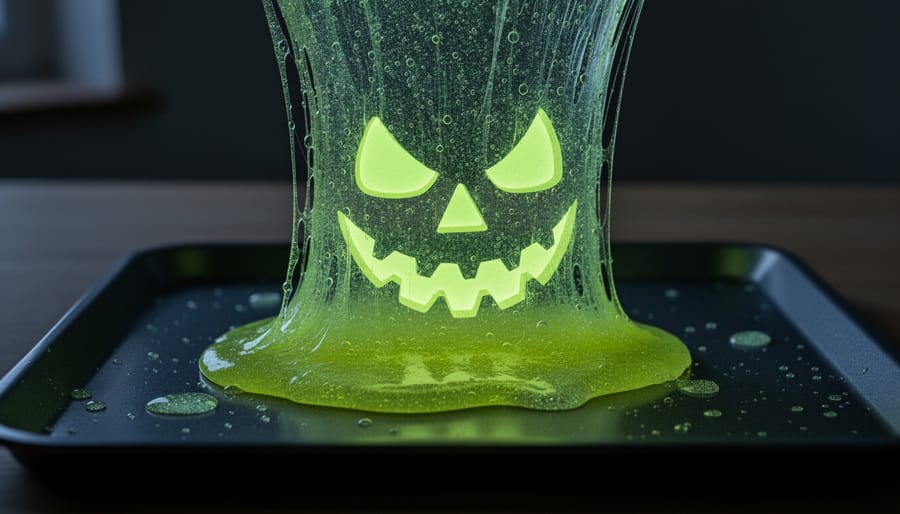
Kids love slime, and when it glows in the dark, it becomes pure Halloween magic. This experiment combines tactile fun with genuine chemistry, creating a squishy take-home treat that demonstrates how polymers work.
You’ll need white or clear school glue, borax solution (or contact lens solution with boric acid as a safer alternative), water, and glow-in-the-dark powder. Mix half a cup of glue with a quarter cup of water, then stir in a teaspoon of glow powder until evenly distributed. In a separate container, dissolve a teaspoon of borax in warm water. Slowly add the borax solution to your glue mixture while stirring continuously. Within seconds, the slime begins forming as you work it with your hands.
The science happens through cross-linking. Glue contains long polymer chains of molecules that slide past each other easily. When borax molecules join these chains together at multiple points, they create a web-like structure that traps water and gives slime its signature stretch and bounce. It’s solid enough to hold yet flows slowly like a liquid, what scientists call a non-Newtonian fluid.
The glow comes from phosphorescent particles that absorb light energy and release it slowly over time. Charge your slime under a bright lamp for a few minutes, then turn off the lights to watch it emit an eerie green or blue glow, perfect for a spooky jack-o’-lantern display or Halloween party favor.
5. Color-Changing Ghost Potion
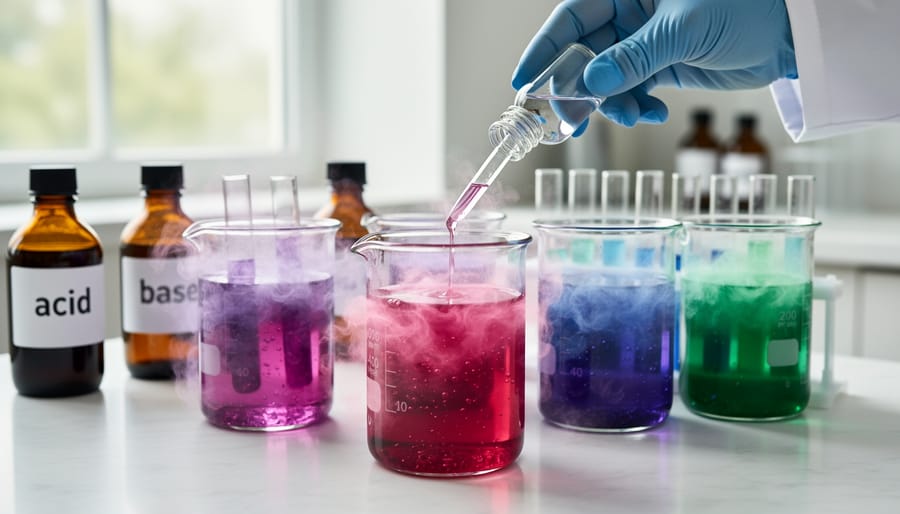
This experiment transforms ordinary cabbage into a “magic” potion that changes color on command, perfect for creating an eerie, spell-casting atmosphere. Red cabbage contains natural pigments called anthocyanins, which shift color depending on whether they’re in an acidic or basic solution. It’s chemistry disguised as sorcery.
Start by making your indicator liquid: chop red cabbage and boil it in water for about ten minutes, then strain out the solids. You’ll be left with a purple-blue liquid that’s your ghost potion base. Pour small amounts into clear cups or beakers.
Here’s where the magic happens. Add acidic liquids like lemon juice or vinegar, and watch the potion turn pink or red. Mix in basic substances like baking soda dissolved in water, and it shifts to blue-green or even yellow. The anthocyanins act as a natural pH indicator, revealing whether a substance is acidic (lower pH) or basic (higher pH) through distinct color changes.
For maximum spookiness, label your cups with mysterious names, “Dragon’s Breath” for the acidic red potion, “Swamp Water” for the green-yellow basic mixture. Kids can experiment with different household liquids to discover which colors they produce. This demonstrates that pH exists on a spectrum, not just two extremes, making the science both visible and interactive.
6. Dancing Frankenstein Raisins
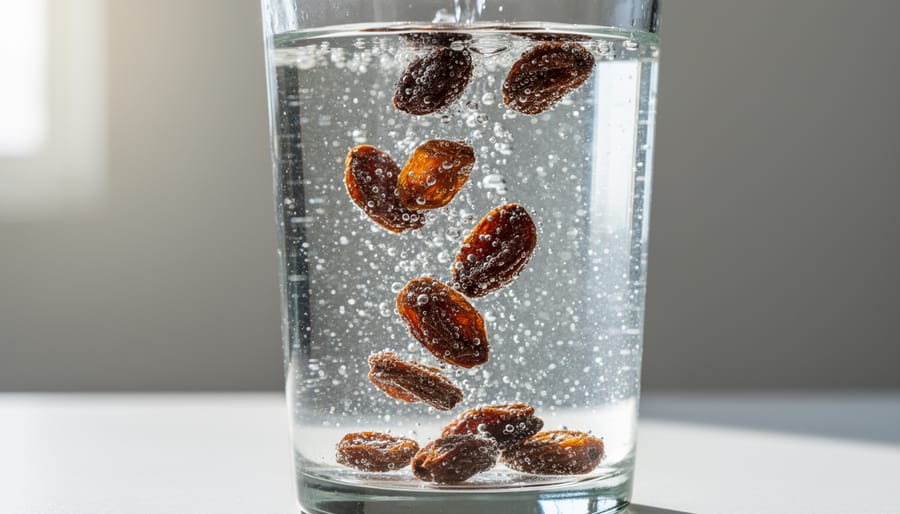
Drop a handful of raisins into a tall glass of clear carbonated soda and watch them spring to life. The raisins start at the bottom, but within seconds, bubbles cling to their wrinkled surfaces. Once enough gas accumulates, the raisins float upward like tiny Frankenstein monsters rising from their graves. At the surface, the bubbles pop and escape, the raisins lose their buoyancy, and down they sink again to repeat the cycle.
This simple experiment demonstrates density and buoyancy in action. Carbon dioxide bubbles from the soda attach to the rough, pitted surface of raisins, acting like miniature life jackets. The combined raisin-bubble system becomes less dense than the liquid, so it rises. When bubbles release at the surface, the raisin becomes denser again and sinks. The dance continues until the soda goes flat.
Use clear lemon-lime soda or sparkling water for the best visibility. Raisins work perfectly because their texture grabs bubbles, but you can experiment with small pasta pieces, dried cranberries, or even plastic “eyeballs” from craft stores. Kids love predicting which objects will dance best and timing how long the effect lasts before the carbonation depletes.
7. Creepy Crystal Graveyard
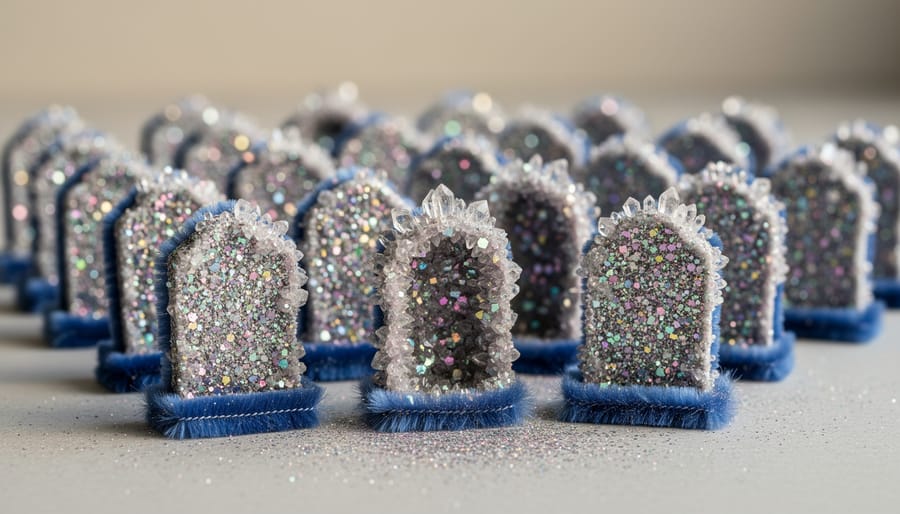
This experiment requires patience, but the payoff is spectacular, you’ll create sparkling crystal-covered decorations that look straight out of a haunted mansion. Shape black or dark-colored pipe cleaners into tiny tombstones, skeletons, or spiders, then suspend them in a supersaturated borax solution overnight. By morning, they’ll be encrusted with glittering crystals that catch the light like frost on a graveyard gate.
The science here involves supersaturation and crystal formation. When you dissolve borax powder in boiling water, you’re forcing more solute into the liquid than it can normally hold at room temperature. As the solution cools overnight, it becomes unstable, the excess borax molecules need somewhere to go. They latch onto your pipe cleaner shapes and arrange themselves into organized, repeating patterns at the molecular level, building outward into visible crystals. Each tiny crystal is millions of molecules stacking in geometric precision.
Mix three tablespoons of borax per cup of boiling water, stir until dissolved, then carefully lower your pipe cleaner creations into glass jars filled with the hot solution. Tie them to pencils laid across the jar tops so they don’t touch the sides. The slower the cooling, the larger and more defined your crystals will grow. This experiment takes planning, start it the night before your Halloween party, but unlike most experiments that disappear after the reaction, these crystalline creations become keepsake decorations you can display year after year.
8. Inflating Ghost Balloons (Without Blowing)
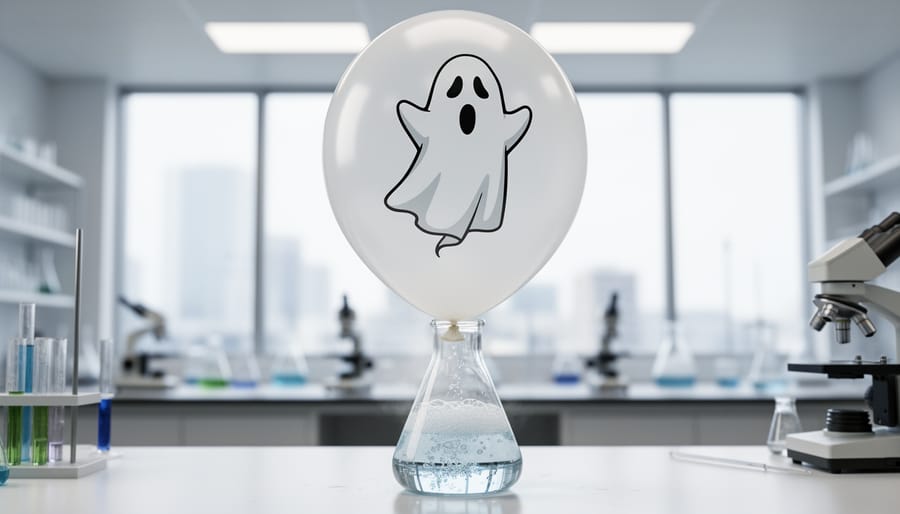
This experiment combines chemistry and physics to create a self-inflating ghost that never touches your lips. Stretch a white balloon over the neck of an empty plastic bottle containing two tablespoons of baking soda, making sure it forms a tight seal. Before you attach it, pour about half a cup of vinegar into the bottle. Once sealed, lift the balloon upright so the baking soda tumbles into the vinegar below.
The reaction happens immediately. As the acid (vinegar) meets the base (baking soda), they produce carbon dioxide gas along with water and sodium acetate. That gas needs somewhere to go, and with the balloon sealed over the bottle’s opening, it rushes upward and inflates your ghost. Kids can watch the balloon expand from flat to fully inflated in under a minute, demonstrating how chemical reactions don’t just change substances but can also perform physical work.
Before you start, draw spooky faces on your deflated balloons with permanent marker. Simple dot eyes and an “O” mouth work perfectly. You can create an entire family of ghosts by varying the bottle sizes or adding multiple doses of baking soda for bigger reactions. The dramatic inflation makes the science impossible to miss.
9. Spooky Smoke Rings (Vortex Cannon)
A vortex cannon transforms invisible air into visible magic rings that float across the room like ghostly apparitions. You’ll build this simple device from a plastic cup or cardboard box, cut a circular hole in one end, and stretch a piece of balloon or plastic wrap over the other. When you tap the stretched material, it pushes air through the hole in a spinning donut-shaped ring that can travel several feet and even knock over lightweight objects.
The science behind this effect reveals how air moves in predictable patterns. As air rushes through the circular opening, friction at the edges causes it to rotate, forming a stable vortex ring. The spinning motion keeps the ring intact as it travels, demonstrating principles of fluid dynamics and conservation of angular momentum. To make these invisible rings visible, add a small amount of fog from dry ice placed in a cup of warm water inside your cannon, or use theatrical fog if available.
Kids can experiment with different hole sizes, container shapes, and striking forces to see how each variable affects the ring’s speed and distance. This ranks among the most dramatic easy science experiments because it requires minimal materials yet produces spectacular results that make abstract physics concepts tangible and thrilling.
10. Bleeding Pumpkin Chemistry
The bleeding pumpkin experiment delivers one of the most theatrical effects you’ll find in Halloween science. Carve a jack-o’-lantern with an open mouth, then prepare your “blood” mixture inside: combine hydrogen peroxide (the 3% solution from drugstores works perfectly), a packet of active dry yeast dissolved in warm water, and several drops of red food coloring. When you pour the yeast mixture into the hydrogen peroxide, a crimson foam erupts dramatically from the pumpkin’s mouth, oozing down its face like something from a horror film.
The magic happens because yeast contains an enzyme called catalase, which acts as a biological catalyst. This enzyme rapidly breaks down hydrogen peroxide (H₂O₂) into water (H₂O) and oxygen gas (O₂). The oxygen escapes as thousands of tiny bubbles, creating thick foam that the food coloring transforms into convincing fake blood. It’s the same enzyme reaction your own cells use to neutralize hydrogen peroxide that forms naturally in your body.
The effect lasts several minutes as the reaction continues, giving kids plenty of time to observe the chemistry in action. You can reactivate it by adding more hydrogen peroxide once the foaming slows. This experiment pairs beautifully with more fall science activities that explore seasonal transformations through hands-on discovery.
Where to Find More Halloween Science Fun
Beyond your kitchen counter, a whole world of Halloween science awaits in your community. Local science centers, museums, and universities often host themed events throughout October that bring experiments to life on a grand scale.
Let’s Talk Science runs an annual Spooky Science event that exemplifies this tradition. In 2025, the event took place on Sunday, October 26th from 11am-4pm at the University of Manitoba Engineering Atrium, featuring booth-style Halloween-inspired interactive experiments and a chemistry magic show for all ages. These community gatherings let kids see demonstrations that would be difficult to replicate at home, like massive dry ice fog effects or dramatic chemical reactions performed by trained educators.
Mad Science also offers Spooky Science Party programs, one-hour packages for up to 20 kids featuring creepy potions, cemetery effects, and floating eyeballs experiments. These structured programs work well for classrooms, scout troops, or birthday parties during Halloween season.
If you’re developing experiments that could expand beyond Halloween, explore our science fair ideas for ways to deepen investigations. For families with younger children just starting their science journey, our preschool science tips offer age-appropriate approaches to hands-on discovery.
Safety Tips for Halloween Science Experiments
Safety might not be the spookiest part of Halloween science, but it’s what allows the experiments to happen without tears or trips to the emergency room. Every bubbling cauldron and erupting pumpkin comes with straightforward precautions that keep the magic alive and everyone healthy.
Adult supervision isn’t just recommended, it’s required for every experiment in this collection. The level of involvement varies: some activities need an adult leading the process (anything with dry ice or hydrogen peroxide), while others work well with kids doing the hands-on work under watchful eyes. Think of yourself as the lab safety officer who happens to be wearing a witch hat.
Here are the essential safety rules to follow:
- Always handle dry ice with thick gloves or tongs, never with bare hands, as it causes instant frostbite at -78°C
- Wear safety goggles when mixing chemicals like vinegar and baking soda or working with hydrogen peroxide solutions
- Conduct experiments in well-ventilated areas, preferably near an open window or outdoors, especially when using dry ice or creating foaming reactions
- Keep a workspace clear of clutter and have paper towels ready for immediate cleanup of spills
- Use food-grade materials when possible and never taste experiments unless the recipe explicitly states they’re edible
- Dispose of materials properly, pour liquid reactions down the sink with running water, and let dry ice fully sublimate in a ventilated area before discarding containers
Following safety protocols isn’t about killing the fun, it’s modeling real scientific thinking. Professional chemists and researchers follow detailed safety procedures because they understand that controlled conditions produce the best results. When kids see you checking that goggles fit properly or testing ventilation before starting, they learn that careful preparation is what separates impressive experiments from dangerous accidents. The most memorable Halloween science moments happen when everyone stays safe enough to try the next experiment.
Common Questions About Halloween Science Activities
What age groups are these experiments best for?
Most of these activities work well for kids aged 5-12, with adult supervision and involvement varying by age. Younger children (5-7) thrive with simpler reactions like dancing raisins and inflating balloons, while older kids (8-12) can handle more complex setups like crystal growing and chemical indicators.
Can I do these experiments in a classroom setting?
Absolutely, these activities adapt well to classroom environments, especially when set up as demonstration stations or small-group rotations. Just plan ahead for materials, ensure proper ventilation for dry ice experiments, and consider prep time for activities like the crystal graveyard that need overnight development.
Where do I find supplies like dry ice or borax?
Most materials come from grocery stores, pharmacies, or craft shops, borax sits in the laundry aisle, food coloring in the baking section, and dry ice can be ordered from ice suppliers or some grocery stores with advance notice. Glow powder and effervescent tablets are available at craft stores or online retailers.
How messy will these experiments get?
Expect moderate mess with foam-based reactions like the erupting pumpkin and bleeding chemistry, but simple prep (plastic tablecloths, outdoor setups, aprons) manages cleanup easily. Slime creation is inherently sticky, while crystal growing and color-changing potions stay relatively contained.
The time commitment varies widely across these ten experiments. Quick wins like dancing raisins or inflating ghost balloons take just 10-15 minutes from setup to wow moment, making them perfect for shorter attention spans or party stations. The bubbling cauldron and color-changing ghost potion need about 20-30 minutes when you factor in prep and exploration time. Crystal growing stands apart as an overnight project, you’ll spend 15 minutes setting up the solution and shapes, then wait 12-24 hours for crystals to form, but the payoff in lasting decorations makes the patience worthwhile.
Halloween transforms ordinary kitchen tables into laboratories where curiosity bubbles over like a witch’s cauldron. These ten experiments prove that the best learning happens when kids are too excited to realize they’re absorbing chemistry, physics, and biology. The fog, the fizz, the color transformations, each spooky effect opens a door to scientific understanding that textbooks alone can’t provide.
The messiness matters. That foaming pumpkin blood, the slime that gets everywhere, the raisins dancing frantically in soda, these aren’t just tolerable byproducts of the activity. They’re the moments kids remember, the sensory experiences that anchor abstract concepts in tangible reality. When children see a balloon inflate from an invisible gas they created, or watch crystals form overnight on their handmade tombstones, science stops being something that happens in someone else’s lab and becomes something they can control and understand.
These experiments don’t require perfection or expensive equipment. They require willingness to get your hands dirty, to ask “what if we tried this?” and to discover together. That’s where the real magic lives, not in getting everything right the first time, but in the shared wonder of making something remarkable happen.